Recovery boards: how they work and how to use them properly
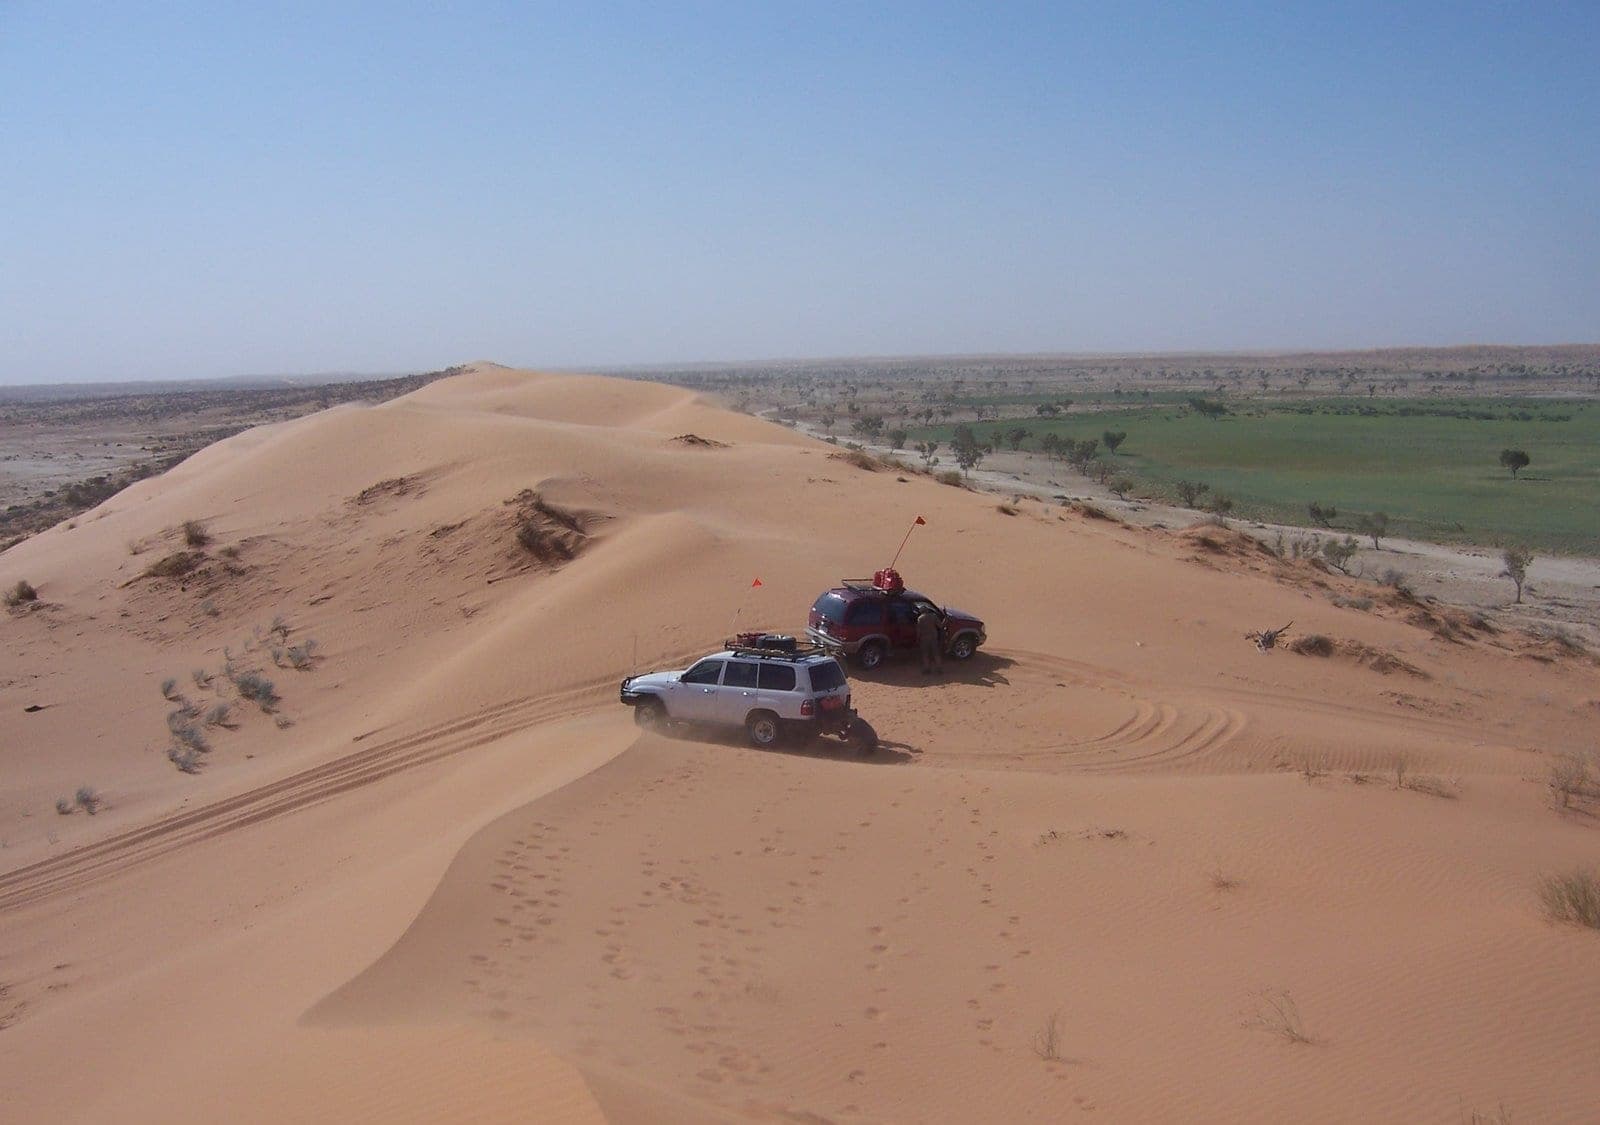
Photo by User:Phanly (talk) · Wikimedia Commons · CC BY 3.0
- Section
- Gear
- Category
- Recovery
- Read
- 5 min
- Updated
- 27 Aug 2026
The safest recovery tool in the kit, why they fail when people get impatient, and what separates a board that lasts from one that shreds.
Recovery boards are the most useful thing in a recovery kit and the least dangerous. Almost nothing about using them can hurt you, which cannot be said for a snatch strap or a winch, and they resolve the great majority of the situations a touring vehicle actually gets into.
They are also the tool people most consistently misuse, and it comes down to impatience.
What they are doing
A bogged vehicle has lost traction because the surface cannot support the load. Sand, mud and snow all fail the same way: the tyre digs down instead of driving forward, and the deeper it goes the worse the geometry gets.
A recovery board does two things at once. The textured lugs on the top surface give the tyre something firm to grip, and the board's area spreads the vehicle's load across a wider footprint of soft ground so it stops sinking.
It is a ramp and a load spreader. That is the whole idea.
Using them properly
The sequence matters, and skipping steps is what breaks boards.
Stop as soon as you know you are stuck. The single biggest determinant of how hard a recovery will be is how long the driver kept trying. Every second of wheelspin digs the hole deeper and buries the chassis further.
Air down first. Most sand boggings happen because tyre pressures were too high. Dropping pressure lengthens the contact patch and frequently frees the vehicle without any other intervention. This is covered properly in tyre pressures for sand, gravel and rock.
Clear the sand. Dig out in front of each driving wheel and knock down the ramp the tyre has built behind it. This is what the shovel is for and it is not optional. A board jammed against a wall of sand achieves nothing.
Wedge the boards hard. Push them under the tyre as far as they will go, angled down into the hole and up toward firm ground. A board resting loosely in front of the wheel gets fired backwards when the tyre touches it.
Drive out gently. Lowest practical gear, steady throttle, no sudden inputs. The tyre should roll onto the board and up it. If the wheels break traction and spin, stop immediately.
Keep going once you are moving. Do not stop on the soft patch to collect the boards. Drive to firm ground first, then walk back. Stopping in the same soft sand you just escaped is how people bog twice in one afternoon.
Why they get destroyed
The failure mode is almost always the same: wheelspin.
The lugs are designed to grip a tyre rotating slowly under load. They are not designed to survive a tyre spinning at speed against them. Friction generates heat quickly, the plastic softens, and the lugs shear off or melt flat. It takes seconds.
If you are spinning wheels on a board, you are simultaneously destroying the board and digging yourself deeper. The answer is never more throttle. It is more digging, lower pressures, or a straighter line.
The other common damage is driving over the boards with the wrong wheel, or reversing over them after a recovery. Leaving them behind is common too, which is why bright colours and leashes exist.
What separates a good board from a cheap one
Material. Quality boards use engineered nylon or reinforced polypropylene that stays stiff under load and tolerates heat. Cheap boards use softer plastic that flexes under a heavy vehicle, and a board that bends in the middle stops spreading load and starts folding.
Lug design. Sharper, well-supported lugs grip better and resist shearing. Very fine lugs strip quickly.
Stiffness under real weight. This is where cheap boards give themselves away. Under a two and a half tonne vehicle, a soft board deflects and the tyre sinks through the middle of it.
Mounting points for tie-downs and a leash. Boards get buried and lost constantly.
UV stability. These live on a roof rack in Australian sun, which destroys unstabilised plastic within a season or two.
Where they work and where they do not
Sand is what they are best at. This is the classic application and they work extremely well.
Mud works, with the caveat that boards sink and disappear in deep mud, and finding them afterwards is genuinely difficult.
Snow and wet grass both work well.
Rock ledges are not really the use case. A board can bridge a small step, but it is not designed for point loading against rock and will crack.
Vehicle high-centred on its chassis is the situation boards cannot fix. If the weight is on the diff or the sills rather than the wheels, no amount of traction under the tyres helps. That needs digging out, jacking, or a pull.
Where they sit in the kit
Boards plus a shovel plus a compressor resolves the large majority of situations a solo touring vehicle meets, and none of those three can hurt anybody.
They are the first thing to reach for, before a strap and long before a winch. The full kit, including the gear that genuinely does need respect, is in the recovery kit that earns its space.
Carrying them is the easy part. Two on a rack is standard, though remember that everything on the roof is weight high on a tall vehicle, which is covered in GVM upgrades explained.
The habit that prevents most of this
Walk it first.
Almost every recovery starts with a decision to drive into something without looking at it. Walking a soft patch, a crossing or a climb costs two minutes and reveals the things you cannot see from the driver's seat. Turning around while turning around is still easy prevents more boggings than any piece of equipment.
Common questions
- How do recovery boards work?
- They give a bogged tyre a firm, textured surface to climb onto instead of spinning in sand or mud. You clear the sand from in front of the driving wheels, wedge a board hard under each one, and drive out gently. The lugs on the surface grip the tyre while the board spreads load across soft ground.
- How many recovery boards do you need?
- Two is the usual minimum and covers most situations, placed under the two driving wheels that have lost traction. Four is genuinely better on a heavy vehicle in deep sand, because you can place them under all four wheels and because you have spares when one gets buried and lost.
- Why do recovery boards get chewed up?
- Wheelspin. The lugs are designed to grip a rotating tyre at low speed, not to survive a spinning one. A tyre spinning at speed on a board melts the lugs off in seconds. If the wheels are spinning, you are damaging the boards and digging deeper, so stop and clear more sand instead.
- Do you need to lower tyre pressures before using recovery boards?
- Almost always, yes. Most bogging in sand happens because pressures are too high. Airing down lengthens the tyre's contact patch and often frees the vehicle before boards are needed. Recovering onto boards at road pressure frequently just moves the problem a few metres down the track.
- Are recovery boards safer than a snatch strap?
- Considerably. Nothing in a board recovery is under tension, so there is no stored energy and nothing that can become a projectile if a component fails. Snatch straps store and release large amounts of energy and have caused serious injuries and deaths. Boards are the first thing to reach for.
Related
 Gear
5 min read
Snatch straps: how they work and how they kill people
Kinetic recovery explained, the rated points and shackles it depends on, and why this is the one piece of gear that has to be treated seriously.
Gear4 min read
The recovery kit that earns its space
What to carry, what to leave behind, and the two items that hurt people every year.
 Guides
5 min read
UHF radio channels in Australia: the ones that matter
Which channels are legally reserved, which ones convoys and road trains actually use, and why a UHF is not a substitute for a satellite messenger.